The HAMMOND Room
There are seven Hammond Organs in my collection, A B3, RT3, A102, H112, X-66, X-77, Chord Organ and an Aeolian-Hammond player organ also known as a Hammond BA. In this room are four Hammond Organs and approximately 128 Hammond Clocks. There are another 10 or so Hammond Clocks in various rooms of the house and the X-66 resides in the game room while the RT3 is directly in front of the Wurlitzer theatre organ swell shades. The Hammond BA is located in my office/library.
The first view when entering the Hammond Room:
CLICK ON THE PICTURE FOR A LARGER IMAGE
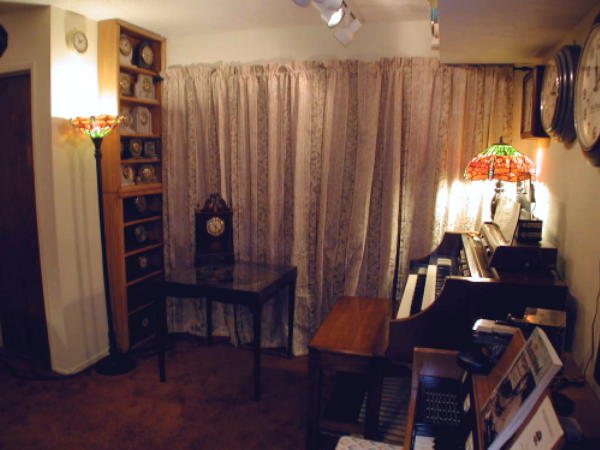
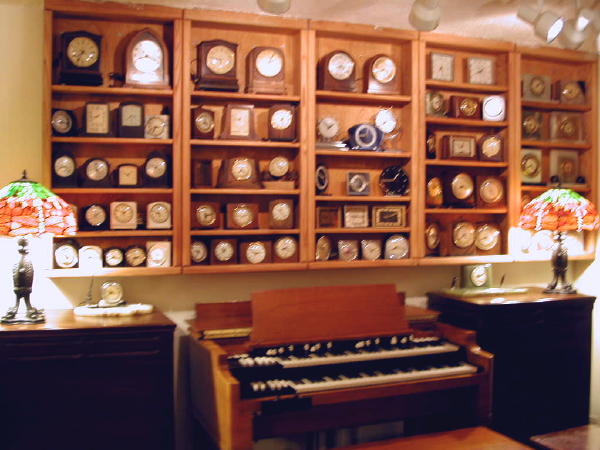
This picture shows the Hammond chord organ in the foreground with the H112 directly behind it. The Hammond automatic bridge table is in the center of the picture. To the left of the table is on display of Hammond Clocks. Behind the drapes are six tone cabinets. With the drapes open it looks like this:

Starting top left, in this picture is a Leslie 21H, a Hammond PR-40 in cherry and a Leslie 145 in cherry. The lower speakers are, from the left again, one of 2 X-77 Leslie tone cabinets, the tone cabinet for the H series and another X-77 tone cabinet. There are two Leslie 122s on the opposite wall for the B3.
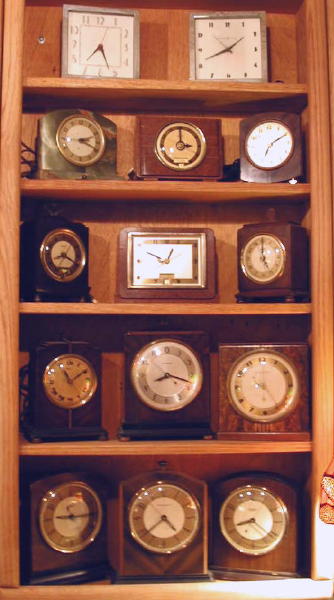
A VIEW OF THE WEST WALL
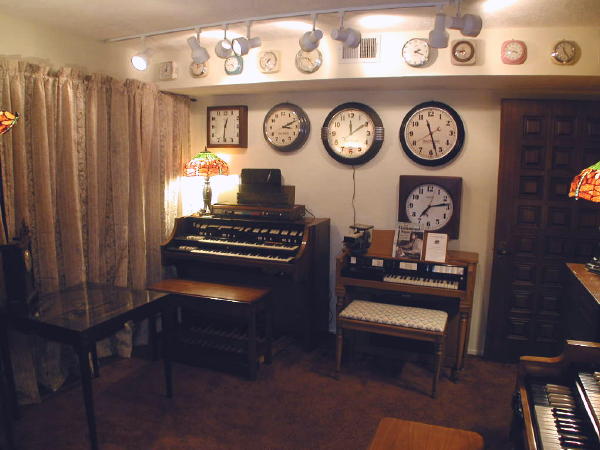
In this picture the majority of the Hammond wall clocks can be seen. There are ten small clocks on the sofit wall with five of the larger models on the back wall. The Postal Telegraph clock in the middle has a back lit face.
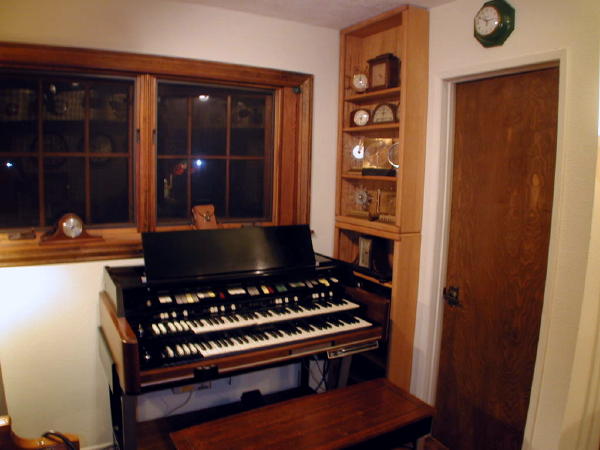
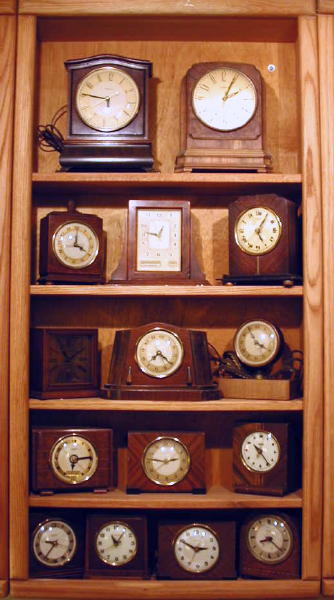
A VIEW OF THE NORTH WALL
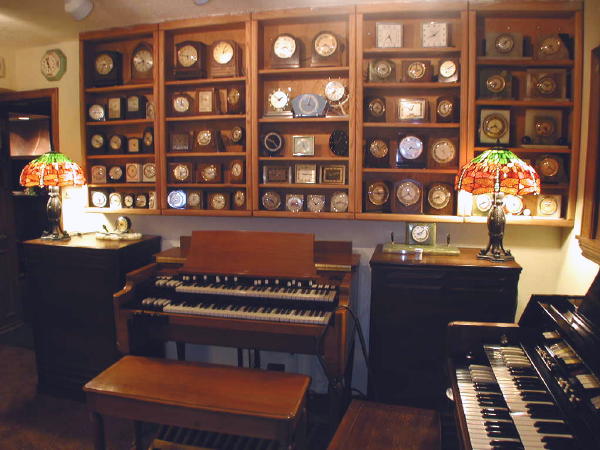
ANOTHER VIEW OF THE NORTH WALL
This picture shows the majority of my Hammond Clock collection and the cherry wood B3 with its two Leslie 122s.
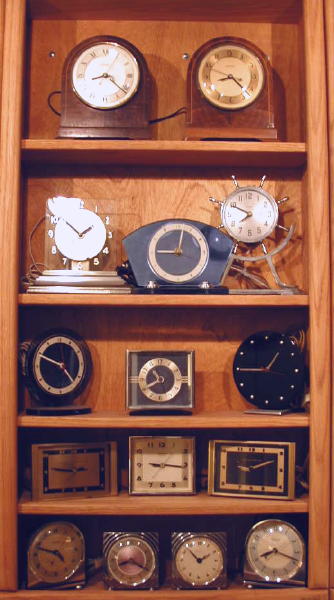
A VIEW OF THE EAST WALL
This picture shows the X-77 and a few more clocks. Also in this display are three Mastercrafter Clocks.
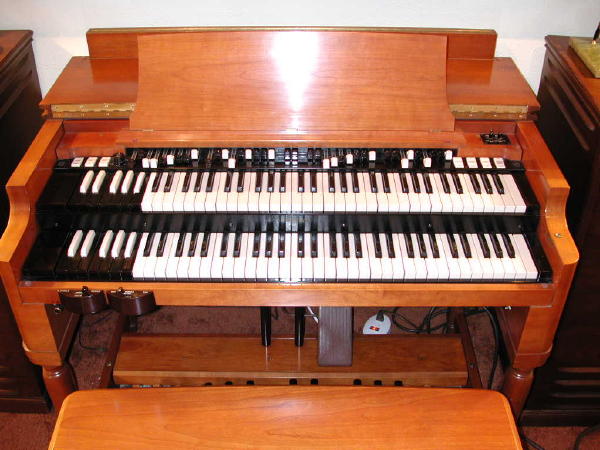
The Hammond B3
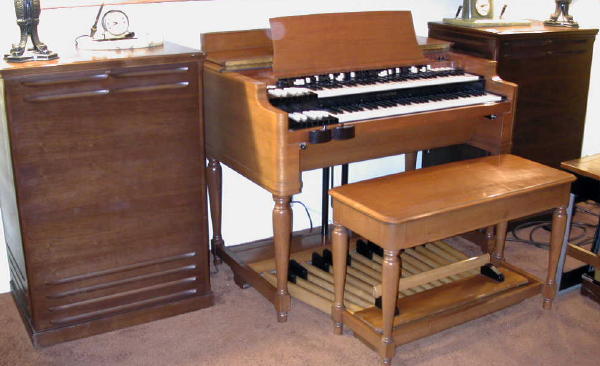
With the Leslie 122s on each side.
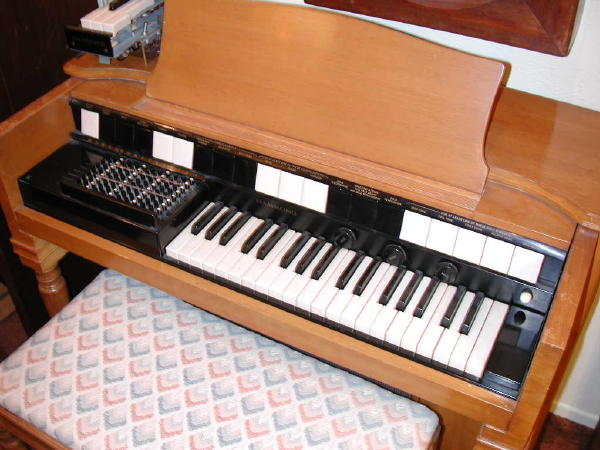
The Hammond Chord Organ

The Hammond automatic bridge table (see the Bridge Table Page for the table in motion).
Clock Display
Clock Display
Clock Display
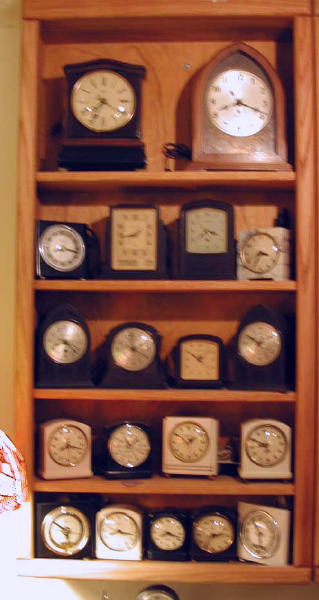
Clock Display
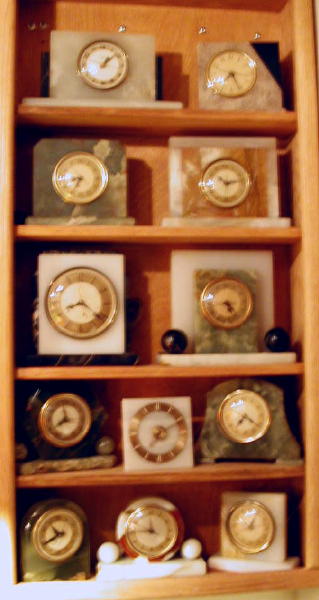
Clock Display

Clock Display